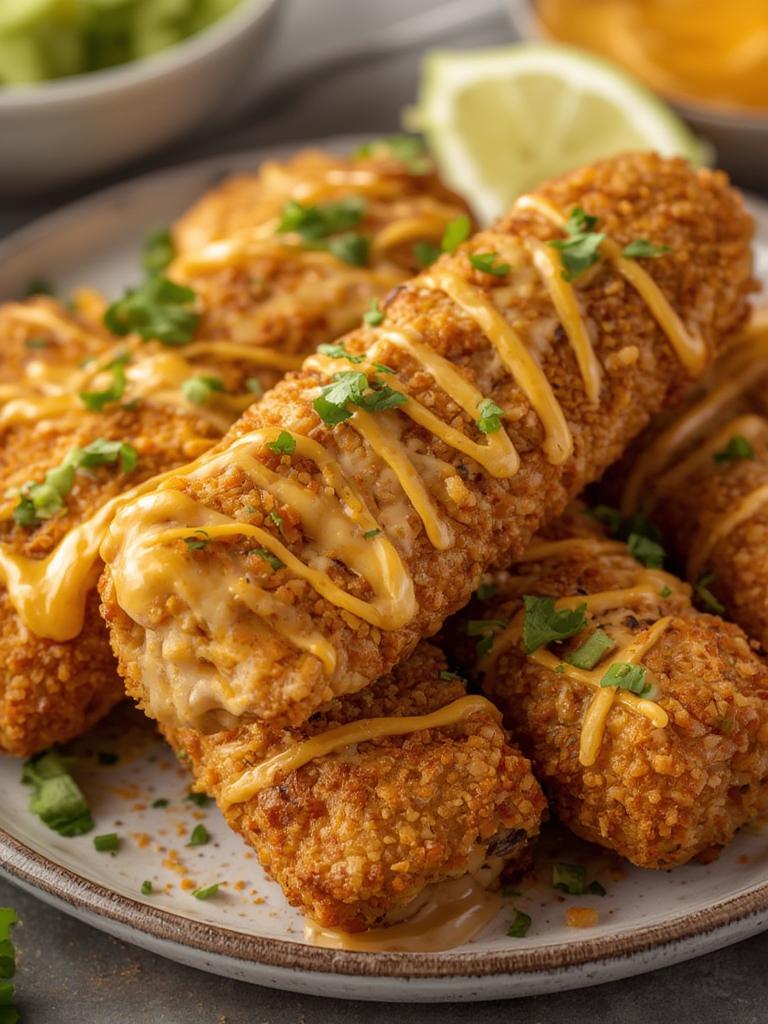
Quick Cheesy Taco Sticks in 20 Minutes
Imagine a snack that combines all the fun flavors of tacos into irresistible cheesy bites! Perfect for a quick lunch, game day, or even as a party appetizer, these Cheesy Taco Sticks come together in just 20 minutes. They’re crispy on the outside and oozing with flavor on the inside, making them an instant hit for anyone craving something quick yet delicious.
Ingredients & Kitchen Tools
Ingredients
– 1 package of crescent dough
– 1 cup shredded taco cheese blend
– 1 cup cooked ground beef or turkey (seasoned with taco spices)
– 1/2 cup diced bell peppers
– 1/2 teaspoon taco seasoning
– Salsa (for dipping)
Kitchen Tools
– Baking sheet
– Parchment paper
– Mixing bowl
– Cheese grater (if using block cheese)
– Knife and cutting board
Prep & Cook Time
– Prep Time: 10 minutes
– Cook Time: 10 minutes
– Total Time: 20 minutes
Step-by-Step Instructions
1. Preheat the Oven: Start by preheating your oven to 375°F (190°C). This crucial step ensures your Cheesy Taco Sticks bake evenly and become wonderfully golden.
2. Prepare the Crescent Dough: Unroll the crescent dough onto a clean surface. If using a tube, press the seams together to form one large rectangle.
3. Mix the Filling: In a mixing bowl, combine the cooked ground beef or turkey with taco seasoning, shredded taco cheese, and diced bell peppers. Stir everything together until well mixed.
4. Shape the Taco Sticks: Take spoonfuls of the cheesy mixture and place them at the wide end of each crescent triangle. Roll from the wide end to the point, encasing the filling securely in the dough.
5. Arrange on Baking Sheet: Line your baking sheet with parchment paper. Place the rolled taco sticks seam side down, ensuring they’re evenly spaced.
6. Bake: Place the baking sheet in the preheated oven and bake for 10-12 minutes, or until the crescent dough is flaky and golden brown.
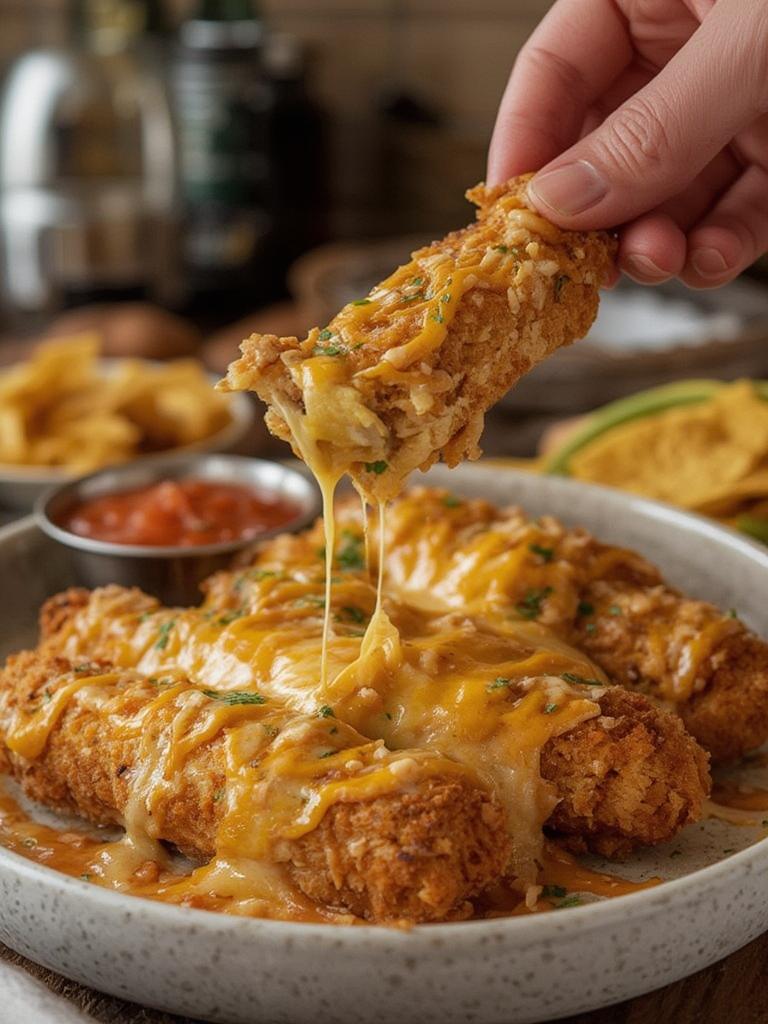
7. Serve: Remove from the oven and let cool for a minute. Serve your Cheesy Taco Sticks warm with salsa for dipping.
Nutritional Benefits or Advantages
These Cheesy Taco Sticks are not just tasty, but they also offer some nutritional benefits. Packed with protein from the meat and calcium from the cheese, they can be part of a balanced meal. Additionally, adding bell peppers increases your weekly veggie intake, providing essential vitamins and minerals.
Tips, Variations, or Substitutions
– Vegetarian Option: Swap the meat for black beans or chickpeas, seasoned similarly for a delicious plant-based treat.
– Cheese Variety: Feel free to mix different types of cheese, such as Monterey Jack or pepper jack, for added flavor.
– Spicy Kick: For a little heat, add jalapeños to the filling or sprinkle some red pepper flakes before baking.
Common Mistakes to Avoid
– Overfilling: It’s tempting to add lots of filling, but too much can lead to leaks during baking. Stick to a spoonful for best results.
– Not Sealing the Edges: Ensure the edges of the dough are sealed tightly to prevent the filling from leaking out.
Storage and Reheating Tips
Store any leftovers in an airtight container in the refrigerator for up to 3 days. To reheat, pop them in the oven at 350°F (175°C) for about 5-7 minutes to regain their crispness.
Conclusion
These Cheesy Taco Sticks are a fantastic way to bring the love of tacos into a fun, cheesy snack. Whether you’re serving them at a gathering or enjoying them as a quick meal on your own, they’re sure to please everyone’s taste buds. Give this recipe a try and let the flavor fiesta begin! Don’t forget to share your experience in the comments below.
FAQs
1. Can I make these ahead of time?
Yes! Prepare the Cheesy Taco Sticks and refrigerate them before baking. Just add a few extra minutes to the baking time.
2. What can I serve with these?
Dips like guacamole or sour cream pair beautifully with these tasty bites!
3. Are there any gluten-free options?
You can use gluten-free dough or wraps to make this recipe gluten-friendly.
4. Can I freeze these?
Absolutely! You can freeze the assembled, unbaked taco sticks. Just bake them straight from the freezer, adding a few extra minutes to the cooking time.